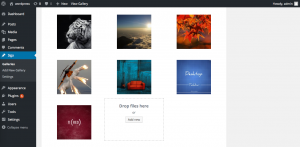
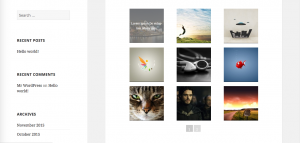
To create your first album gallery, head over to the plugin’s admin menu (WP Main Menu -> Siga -> Add New Gallery).
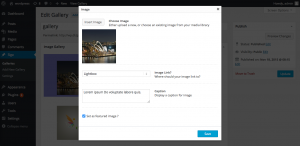
Give your album a name, then give the album some images in the metabox. (You can edit your image’s attributes by clicking on the image.)
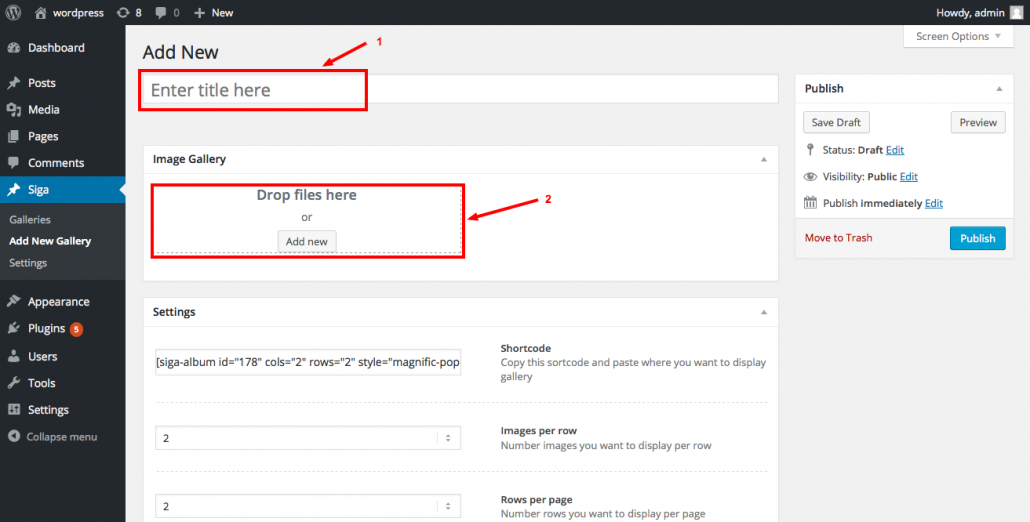
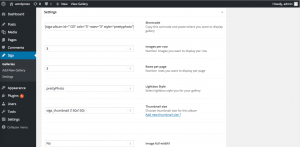
Change your album’s settings in the “Settings” metabox.
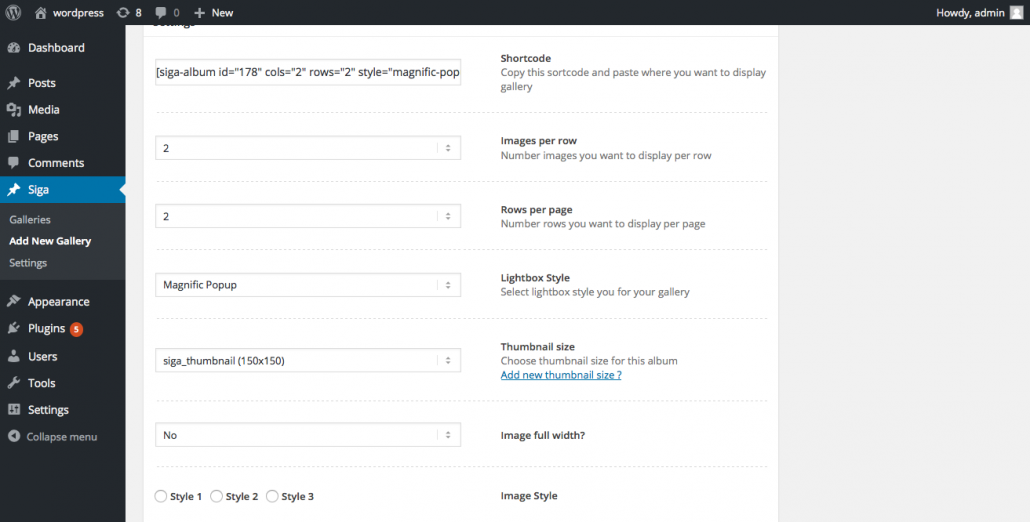
+ Use shortcode in the “Shortcode” input and place it whatever you need.
+ Images per row: the number of images you want to display per row.
+ Rows per page: the number of rows you want to display per page.
Eg: You’ve choosen 3 for “Images per row” and 3 for “Rows per page”. You’ll have 9 images that will display each page on your album, if your album has more than 9 images, a pagination block will automatically appear.
+ Lightbox Style: Select lightbox style you for your gallery. Currently the plugin has 3 styles: Magnific Popup, FancyBox, PrettyPhoto.
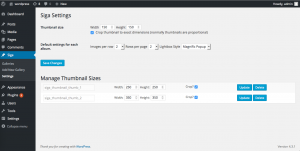
+ Thumbnail size: choose thumbnail size for each image. You can select some options in the dropdown, or add new custom sizes you want by clicking the “Add new thumbnail size ?” link.
+ Image full width: if you choose Yes, the image’s size will be 100%.
+ Image Style: defines how the image’s caption is displayed.
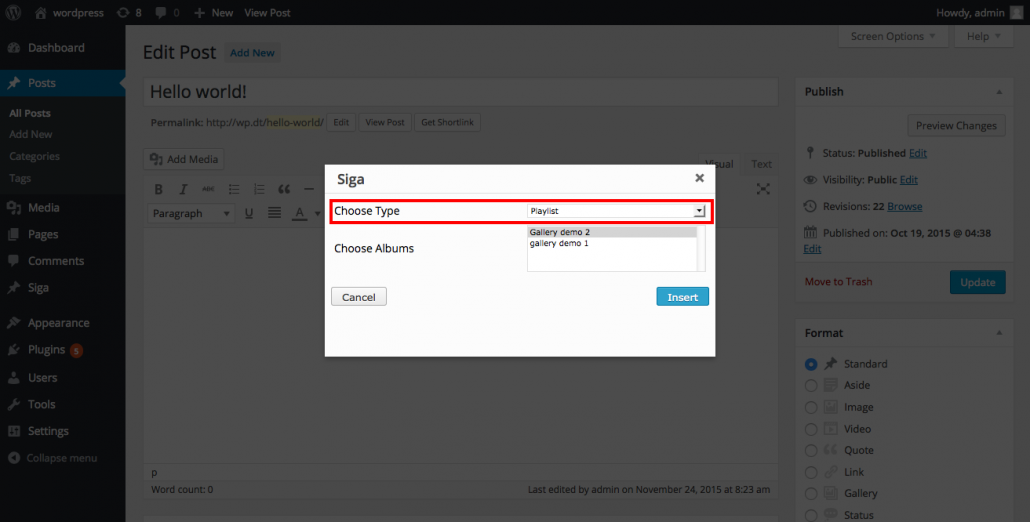
While editing page or post (or any custom post type), you can use the “S” button to insert gallery or list-gallery into your post.
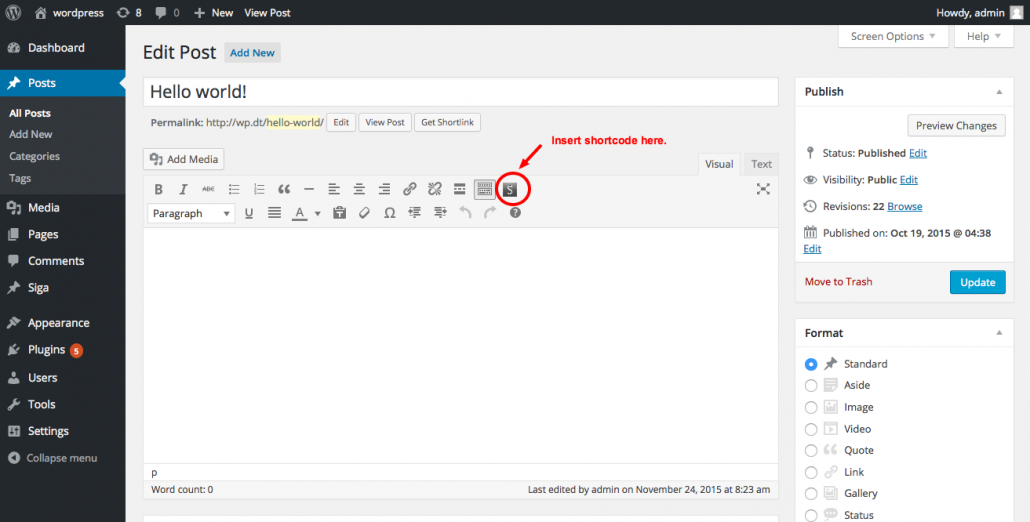
+ If you want to insert album gallery: select “Album” from Type dropdown. Then select album,images per row, rows per page… and click the button titled “Insert”.
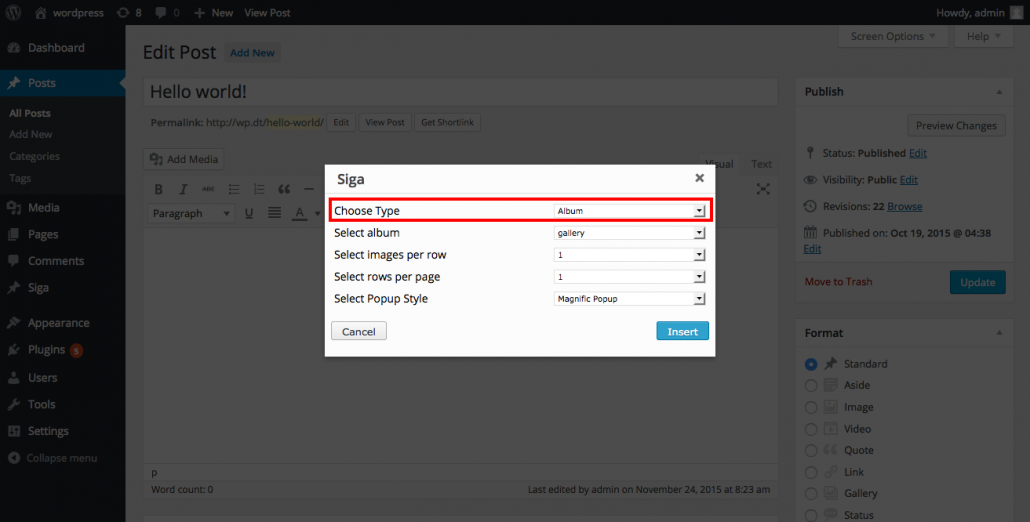
+ If you want to inset list-gallery: select “Playlist”, choose albums and finally click the “Insert” button. (If you wish to insert more than one album, hold the Ctrl key to select an additional album)
